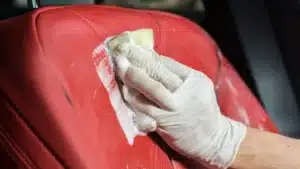
How to clean seat belts? That isn’t the first thing that comes to your mind when you’re about to wash and clean your car. But to be honest, it should. Primarily made of Polyester, a seat belt attracts almost anything that your steering does.
Dust, oil, sweat, odor, and almost everything else that you get your hands on, on a daily basis. They are most neglected during a car wash which we think is unhealthy.
Now that you know this, it is time for you to know the correct process of cleaning your car’s seat belt. Through this guide, you’ll also get familiar with the correct tools to use in the process.
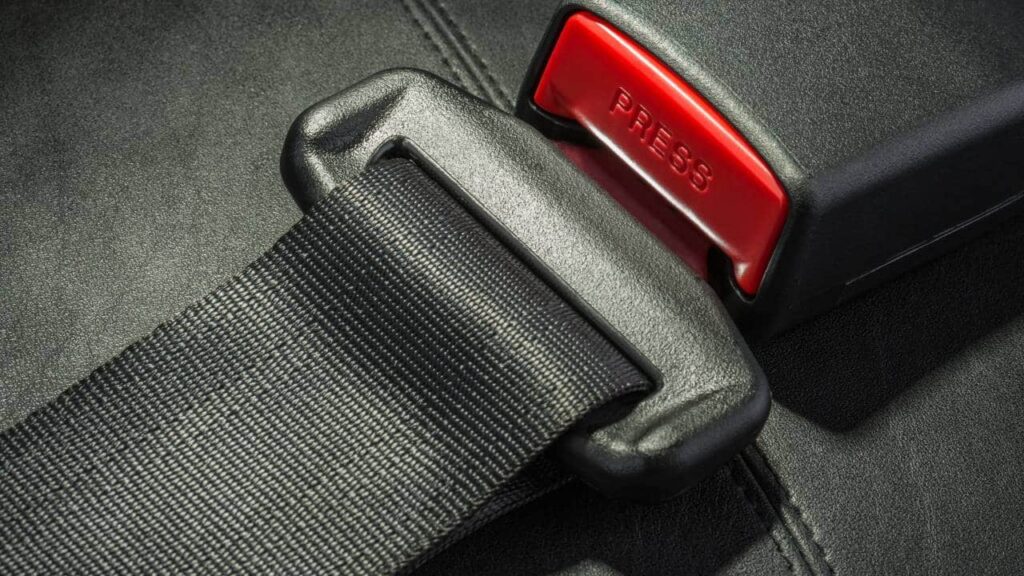
Why It Is Important To Clean Seat Belts?
As mentioned, seat belts are items that people come in contact with on a daily basis. They’re exposed to the elements, including your sweat and the dust that blows through the windows and doors every time they’re opened.
So, one can imagine the kind of bacteria the belts are exposed to. Over time, tough stains form on the belts as a result of excess moisture. What could make matters worse is the presence of a humid environment which could cause mold to grow on the belt. Another reason why they need to be cleaned more often!
Apart from the health and hygiene point, a dirty seat belt would eventually begin to smell bad. Strong odor, as you know is something that is difficult to get rid of from a car’s interior. Such odor can settle on other areas like seats, roof lining and even delicate fabrics often found in luxury cars.
If not for the odor and mold spores that would spread inside your car’s interior, cleaning seat belts must be done at least for the sake of good health and well-being. There can be no greater importance than that in our opinion.
How To Clean Seat Belts In 8 Steps
You might wonder how this isn’t really rocket science and a gentle wipe of a wet microfiber towel should do the job. But, that is where the catch is. Seat belts tend to get dirty quickly and a simple wet swipe won’t be enough.
You’ll need some equipment that we’re mentioning below along with a few steps, which when followed should bring your car’s seat belts back to being new!
Materials Needed
Here is what you will need:
1. Clamp
This would help prevent the seat belt from retracting to its original position. While this sounds like a heavy tool to use, you can use something as small and light but not something as small as a paper clip. If you have access to a hair bun clip or a chic clip, that should do as well! A metal clamp would be ideal though.
2. Fabric Cleaner
A car interior cleaner or a high-quality fabric cleaner should be ideal to take all the muc off. Such cleaners often preserve the material without doing any harm to it and also help reach and clean the gaps in between. However, one must avoid using a very strong or acidic cleaner.
If you are looking for the best results after cleaning car seat belts, we strongly emphasize you use a premium, well-known, branded product since they prove to be the best-suited cleaners. They also help maintain the original finish and help the belts last long.
3. Soft Brush
A soft bristled brush or scrubbing brush is the best companion you can give the fabric cleaner. While the cleaner helps clean the belt’s surface, the brush would help extract the dirt stuck between the belt’s threads.
However, do ensure to note that the bristles on the brush are considerably soft and of good quality. A stiff bristle brush could harm the threads on the belt, especially if you’ve used a lot of scrubbing force to clean them.
4. Microfiber Towel
The seat belt is a tough piece of item that needs no particular caressing. However, that also doesn’t mean that you use any piece of cloth to wipe it neatly. However, the cloth you’re using must be able to absorb a large amount of fabric cleaner or water.
That said, why not use a microfiber towel because it does both? Since it is soft, it won’t scratch the surface of the seat belt so they can last long. Secondly, a microfiber towel can absorb a significant amount of liquid. A clear win-win both ways.
5. Other items to consider keeping in hand
If you’re somebody who likes to clean car seat belts using materials that we use day to day, then you could definitely consider keeping aside some dish soap, baking soda, rubbing alcohol, and vinegar. These items would help achieve similar results that one would otherwise notice with the fabric cleaner mentioned above.
The Steps
Now we list the process that you should follow to clean your car’s seat belts. There are a few of them, but we can assure you that they don’t take too long.
Step 1: Remove the mount tabs
Seat belt mount tabs might look clean from the outside but within them, there is a dust and bacteria warehouse. Imagine the amount of dirt that must’ve gathered there because they have never been opened.
The first step is to use a screwdriver to unscrew the mount tabs and maybe, use a paint scraper to get through the gaps. This should help you take them off and separate the buttons and the mount tabs. The design for seatbelt mount tabs is universal so you can follow this step regardless of the vehicle you own.
Step 2: Set the right position by pulling and clamping the belt
In order to access the entire belt, you must pull the entire belt out up until the point where it stops. Once done, use the clamp near the belt reel to lock in that position. This is an integral part since it gives access to the entire belt in one shot.
Otherwise, just imagine if you had to keep pulling the belt bit by bit for every subsequent step. The clamp helps hold the belt in place, enabling you to have the entire length at your disposal.
Do ensure to fasten the clamp securely because a loose clamp could snap off, thereby causing the belt to suddenly retract. That could prove to be injurious too if you aren’t careful!
Step 3: Spray the belt with the cleaner
The next step is to spray the car interior fabric cleaner or a seat belt cleaner on the belt. Use a good quality cleaning solution to get the best results. Spray gently to avoid over-spraying. It is advisable to first work on the driver’s seat belt. Apply the spray on both sides of the belt by flipping it.
Go through the entire belt gently but quickly so the spray doesn’t dry up. A spray bottle would definitely do a fine job of that. Ensure you’ve covered the entire belt without missing any part. The cleaner plays a major role in removing dirt from the gaps.
Step 4: Brush the belt
Before the cleaner dries up, start brushing the belt in a vertical motion, that is from top to bottom. Pull the belt forward as you brush toward the bottom, just like how you’d brush long hair.
Apply extra effort on areas where there are stubborn stains since they are a bit tough to get rid of. You’ll have to run through the entire belt in detail for such stains.
If you feel the cleaner has dried or if certain stubborn stains are difficult to get rid of. Then consider respraying those areas again and then brush repeatedly until the spot has been cleaned. You must make sure to not over scrub as that may damage the threads on the belt.
Scrub gently and repeatedly, that is the best way to do it. Repeated scrubbing with a soft-bristled brush is better than using a hard-bristled brush for the same reason
Step 5: Wipe with a dry microfiber towel
Once you’ve brushed the belt, use wipe the entire belt down in the same manner with a dry and fresh microfiber cloth or a microfiber towel. Do it in a way where the width of the seat belt is covered entirely from both sides by the microfiber towel. Then run it down from the top to the bottom of the seat belt.
Doing it two to three times should help you remove excess moisture from the seat belts. You may use some about of moderate force with your fingers. Though microfiber towels/ microfiber cloths are popular for absorbing a lot of moisture, you’ll always find some moisture that is left behind.
Step 6: Re-wipe for quicker drying
You need to know that the more moisture you can dry off from the seat belts, the lesser time they would take to completely dry. In addition, you can consider something properly clean when it has dried a considerable amount, not when the belts are still dripping with cleaning solution.
For the same reason, do consider using another microfiber towel to re-wipe the belt. You’ll be surprised by how much moisture you were able to extract with the second towel.
Don’t hesitate to use more towels in case you’ve used excess cleaning solution. Once you’re satisfied that enough has been done to wipe the moist, you must leave it to air dry.
Step 7: Buckle service and air dry
No matter how much you wipe, there’s always some moisture that is left behind, especially between the seat belt threads. Run your fingers across the clean car seat belt and you’ll notice it to be damp. Hence, it is best to leave the belt overnight, as it is to allow it to dry completely.
Check the clamp to see if it still holds the seatbelt firmly. If not, then release the clamp, pull the seatbelt, and re-clamp it again. It is best advised to not allow the seatbelt to retract because it needs to be exposed completely for it to dry. Retracting the seatbelt could cause mold and stains to appear again.
In addition, inspect the buckle for any form of rust. If required, spray a small amount of WD-40 on it so it locks more smoothly.
Step 8: Remove the clamp
After you have repeated the above steps for all the seatbelts in the car and have left the belts to air dry, the next step is to check back the next day or after 5-6 hours to see if all the seat belts have dried up.
Get in and out of your vehicle from each door to inspect each seatbelt in detail. Look out for damp spots in particular. Also, be sure to inspect each seatbelt for stains, especially those areas where you had trouble cleaning tough stains.
If all seat belts are completely dry, you may remove the clamp but do hold the seatbelt in place before you do that to protect yourself from sudden retraction. Screw the mount tabs back in place
Using a Steam machine to Deep Clean car seat belts
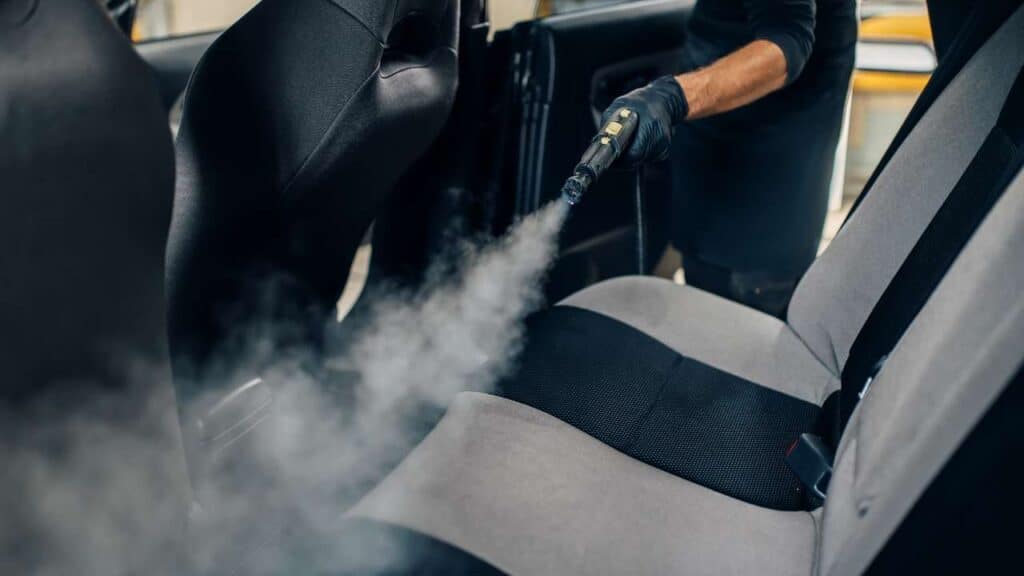
If you have a steam cleaner or steam machine, that too could prove to be one of the best tools for cleaning your seat belts. They are fairly simple to use and help save a lot of time. No matter what the stain or dirt on your car’s seatbelt or interior is when water and heat are mixed, they can loosen almost any stain.
Not only that, but steam also helps destroy bacteria and mold. You can even use it to clean other fabric in your car’s interior since it is ideal for general cleaning.
To steam clean seatbelts in your vehicle, you may follow steps 1 and step 2 mentioned above. After that, begin using the steam machine on the seat belts. Do make sure to not set a high temperature else it could damage the belt and loosen the thread. A warm water temperature would be the best setting to keep it at. Once done, follow steps 5 up to 8 to conclude the process.
How To Remove Stubborn Stains?
If you’ve tried the above ways to clean your car’s seat belts but still find stubborn stains on them, then there’s another way of getting rid of them. Not only is this way highly effective, but it is also very cost-effective. You can find the ingredients by heading over to your kitchen!
This is a homemade remedy so you’ll need a small cup to mix warm water and mild or non-bleach dish soap in a 1:3 ratio. Just ensure that the soap is completely non-bleach and vinegar free. This is important because acids have the capability to absolutely ruin the seatbelt.
Follow steps 1 and step 2 mentioned earlier. Use a soft-bristled brush, dip it in the solution you just made, and then scrub it over the stubborn stain. Follow a vertical scrubbing movement, go from the top to the bottom. If you notice the stain loosening off, dip the brush into the solution a few times and continue scrubbing until it is removed completely.
The next step is similar to steps 5 and step 6 mentioned earlier. Use good quality microfiber towels to dry the area well. Be generous in using a few towels since they tend to soak up a lot of the solution. Then, leave the area to dry completely overnight.
Another option we can think of is to remove tough stains by using a hot water extractor just in case you have one. Set the machine in a medium or low moisturizing mode to protect the seat belt. Then run it through the belt from top to bottom.
How To Remove Mold And Odors?
If you’ve taken your seatbelt so lightly that it’s got mold on it that emits a weird odor, then worry not. Just when you’ve thought of getting a new seatbelt, we’re here to save that small bit of money for you.
Again, with a simple homemade remedy, you can clear the mold and get rid of the odor. You might want to keep in hand a concrobium mold control spray remover as well. And you can do it so well that it would look like it never existed on the seatbelt.
But before you begin any work on it, we suggest you wear a face mask or cover it with a cloth since mold can be harmful. You’ll also have to clean the seat and the surrounding bit since they are located near the seatbelt.
Assuming you have followed steps 1 and step 2, all you have to do is mix about one tablespoon of dish soap that is mild with 240 ml of water in a cup. Then add two tablespoons of vinegar in it before mixing the solution. Dip a small portion of a microfiber towel in the solution and rub it on the mold-infected areas. You may also use vinegar-based cleaners for the same purpose.
When the belt is still damp, spray the concrobium mold control solution on the damp areas of the seat belts before wiping them with a microfiber towel and leaving the belt to dry overnight. The spray eliminates any kind of mold present on the car seatbelt and also prevents mold re-growth.
The spray also works to a certain extent in terms of eliminating odor. But, in case you notice that the odor is quite strong to deal with, place a box of baking soda inside the car or a box of uncooked rice overnight. They are highly effective in absorbing odor.
How Do You Clean Vomit Off A Seatbelt?
You might have had to face instances where vomit has found its way from someone’s mouth onto your car’s seat belt. While this can be a dirty and gross situation to deal with, it could damage the seatbelt. Thanks to the chemicals that come with it, and the odor.
To quickly clean the seatbelt of your car, follow steps 1 and step 2 mentioned earlier in this guide. Then, Apply mild soap or baby soap on a wet microfiber cloth before you wipe the seatbelts.
Rinse the cloth multiple times in baby wash water depending on the amount of vomit present on the seat belt. Then wipe it clean repeatedly until you see no trace of vomit. The next step is to get rid of the odor and disinfect the seat belt.
You may make use of a hand sanitizer with a high concentration of alcohol or a disinfectant spray in the process. Spray the affected areas on the belt to disinfect them. Not only will it kill any bacteria or virus but, it will also help replace foul odor with something more pleasant. Leave the seatbelt clamped until the next morning so the straps dry completely overnight.
Precautions for Cleaning Your Seat Belts
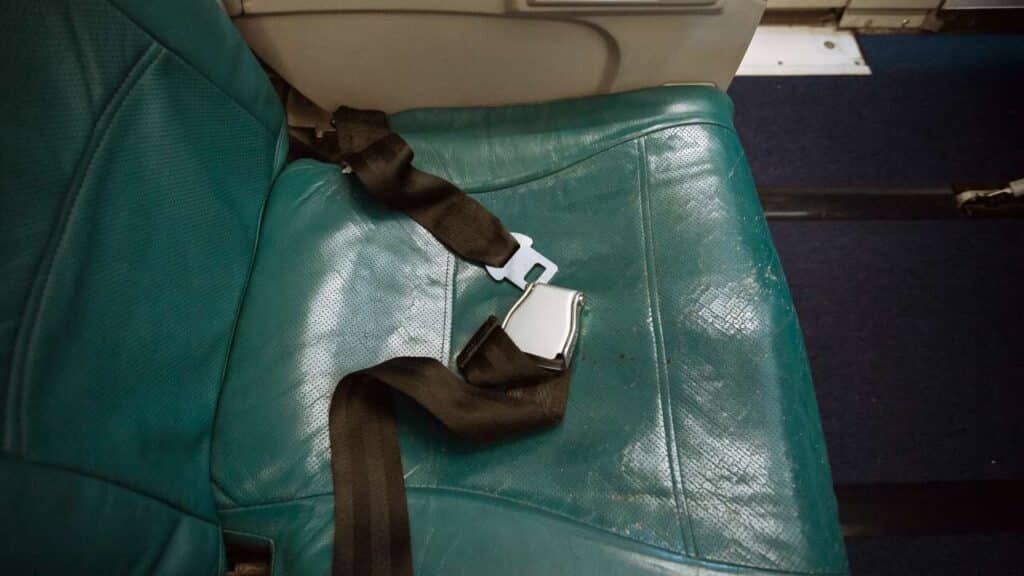
There are a few precautions you might want to keep in mind when you’re about to clean your car’s seat belts.
Firstly, you must try and see if your car’s manufacturer has specified something with regard to cleaning the seat belts. Certain cars have sensors attached to the seat as a safety feature. Ensure you know the do’s and don’ts first so nothing else can go wrong.
Secondly, keep in mind that no matter what solution you buy or make yourself, ensure that it is a neutral ph detergent. You’ll also have to ensure that no matter what cleaner you use to clean the belts of your vehicle, they must be compatible with the car’s interior.
Brands that specifically make cleaners for car seat belts or car fabrics are best suited to clean seatbelts. So you must ensure to invest in a good one. One last point to keep in mind when working on car seat belts is to avoid hot water since it could loosen the threads over time. Warm water is the best choice, always.
FAQ
Is it safe to clean seatbelts?
Absolutely! If done right, it is completely safe to clean them.
Does water damage seatbelts?
No. Water does not damage the seat belts.
Can you wash seatbelts in a washing machine?
No, this is not possible. It will damage the belts.
Can I use bleach on seatbelts?
It is better to avoid bleach on seatbelts.
Does vinegar remove vomit stains?
It might help. Vinegar helps get rid of mold.
Conclusion
Now that you know the nitty-gritty of seat belt maintenance, it is important that you follow the steps mentioned above to clean them properly from time to time and include them in the wash list when washing your car. In addition, keep in mind the precautions we mentioned because it is also important to know ‘what not to do’ to prevent things from going wrong.
Related Content:


