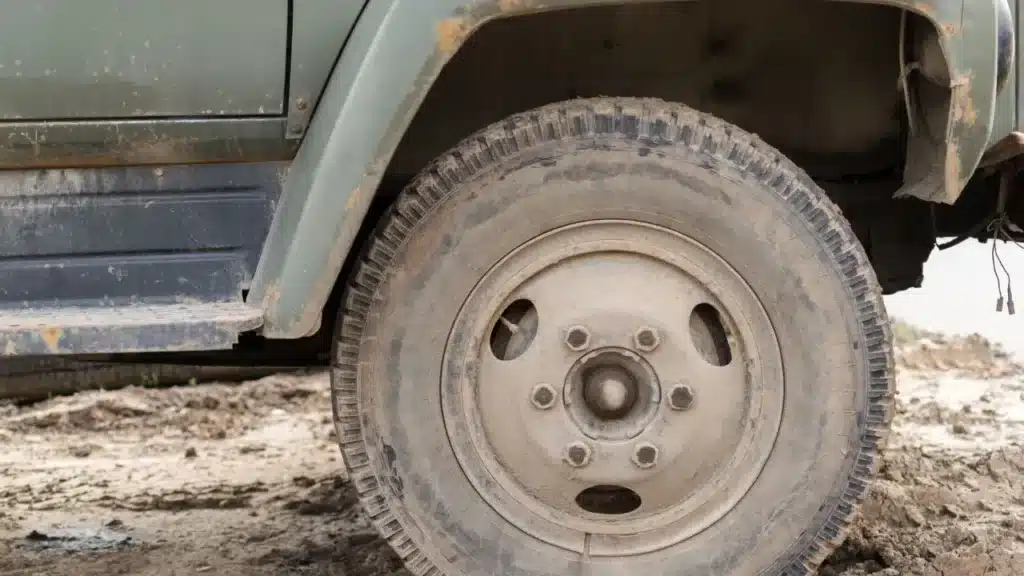
Many drivers fuss over keeping their trucks and cars’ exteriors clean and shiny while failing to pay attention to an important component that often harbors dirt and grime – the wheel well. Neglecting this part not only shows that you did a shoddy work cleaning your vehicle, it could potentially lead to rust and corrosion.
Lucky for you, we’ve put together this guide to show you how to clean wheel wells and remind you that every part of your vehicle needs care and attention. In case you were wondering what the wheel well is, it is the (usually plastic or metal) compartment underneath the fender where the wheel and tire sit.
Its main purpose is to protect the car’s body and underside from the mud, tar, salt, and other debris thrown by the rotating wheel. Below, we delve into the process of reviving your car’s often-neglected wheel well.
How to clean wheel wells
Most wheel wells on cars have an extra protective covering called the wheel well liner or guard to protect them. These covers often come as stock, or drivers can have them installed later. Wheel well liners provide an additional shield, preventing flying debris from your tires from getting past the wheel wells.
For the sake of simplicity, the terms wheel wells and wheel well liners will be used interchangeably in this guide. We will look at two methods of cleaning wheel wells: the quick method and a more detailed approach.
The quick method
For this method, you don’t need to take off your tires. You simply spray the area with a diluted degreaser, scrub it with a brush, and rinse. After drying, you can also go the extra mile and spray the wheel wells with a protectant. You will need:
- Spray Bottle(s)
- Microfiber Towel
- Meguiars Degreaser (I personally like the smell, but any other brand or all-purpose cleaner should work.)
- Scrubbing Brush
- Applicator pad
- Coat Dressing/Protectant
The steps are as follows:
Knock existing dirt off
Depending on how recently you washed your vehicle, you may need first to clean the area or remove caked mud with a hose or pressure washer.
Apply the degreaser
Dilute your degreaser as recommended. For Meguiars, I like to use a 1:5 ratio – the product is really strong, and you get more bang for your buck this way. Spray the diluted solution on the area and give it a moment to work. Don’t worry; it’s safe on your wheels.
Scrub and rinse
Scrub the wheel well guard using your brush to remove the accumulated road grime and filth. The previously applied degreaser should make your work easier. Ensure the brush has a handle long enough to reach difficult spots and the bristles are not too hard to leave scratches when scrubbing. Once you are done scrubbing, use a hose to rinse off the dirt.
Dry and apply a coat protectant
This step is optional, but we highly recommend it. Once the wheel well is dry (you can use any old microfiber towel to speed the process), use your applicator pad to apply the dressing. This gives the wheel well lining a glossy finish and makes it harder for contaminants to stick.
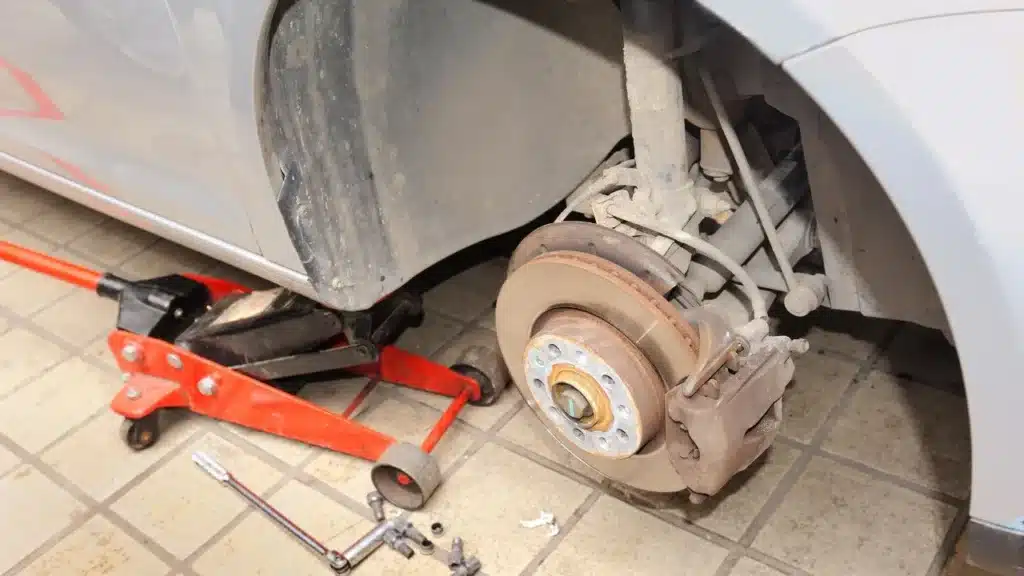
The detailing method
The difference between this and the previous method is that this method involves taking off the wheels to enable access to the inner wheel wells. Following this method ensures the road salt, grime, and filth in inaccessible areas do not permanently bond to exposed metal in the wheel well.
This method also poses less risk of defacing the compartment, as it relies on gradual, systematic wearing down of the dirt rather than one full, aggressive wash. Essentially, we are trying to get rid of the first few layers of grime before physically agitating the surface. On the downside, the process takes more time.
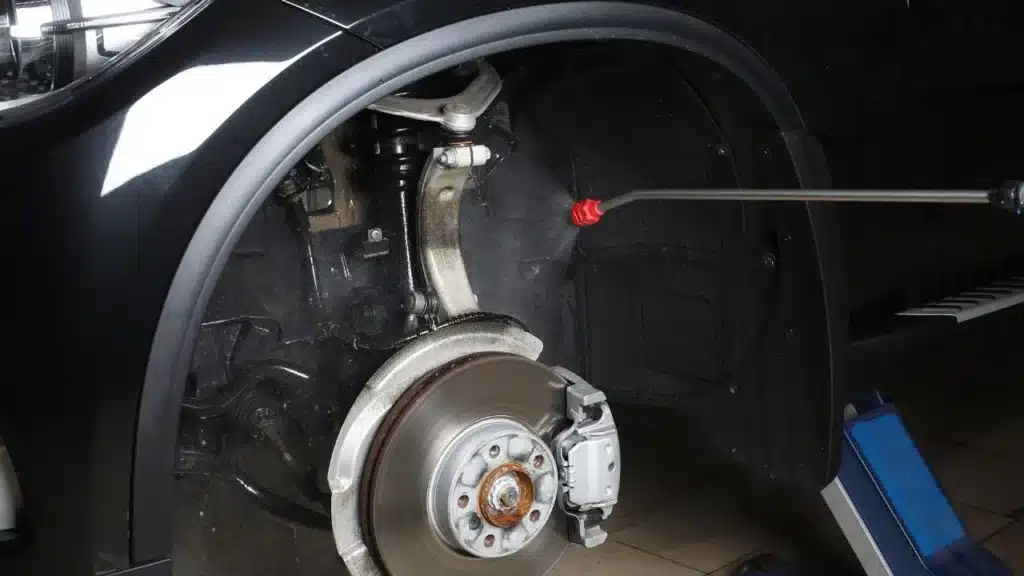
Following tire removal, begin prepping by washing the wheel arches and the wheel well liners (if necessary). This is followed by applying a degreaser/all-purpose cleaner. An air gun is also used to break down stubborn grime further before applying a tar remover. This is punctuated by short periods of brushing and rinsing. Finally, a protective coating is applied on the wheel well liners.
For this method, you will need;
- Trolley jack, Axle stands, Breaker bar, and a Torque wrench (to remove the wheels)
- Microfiber Towel
- Meguiars Degreaser
- Pressure washer
- Tornardor car cleaning gun or steamer
- Tar and Iron remover
- Wax and grease remover
- CARPRO Eraser
- Protective coating
- Coating sealant
Once you’ve sorted your necessary tools, we can get right into it.
Prepping
After removing the rim and wheel, pre-wash the wheel arch and the well compartment to loosen up caked-up mud and grime.
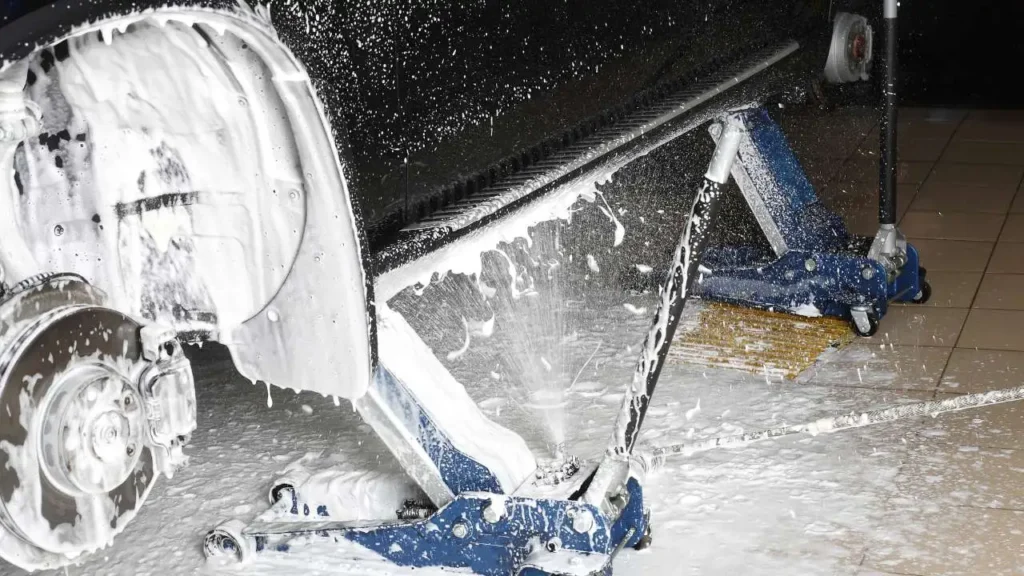
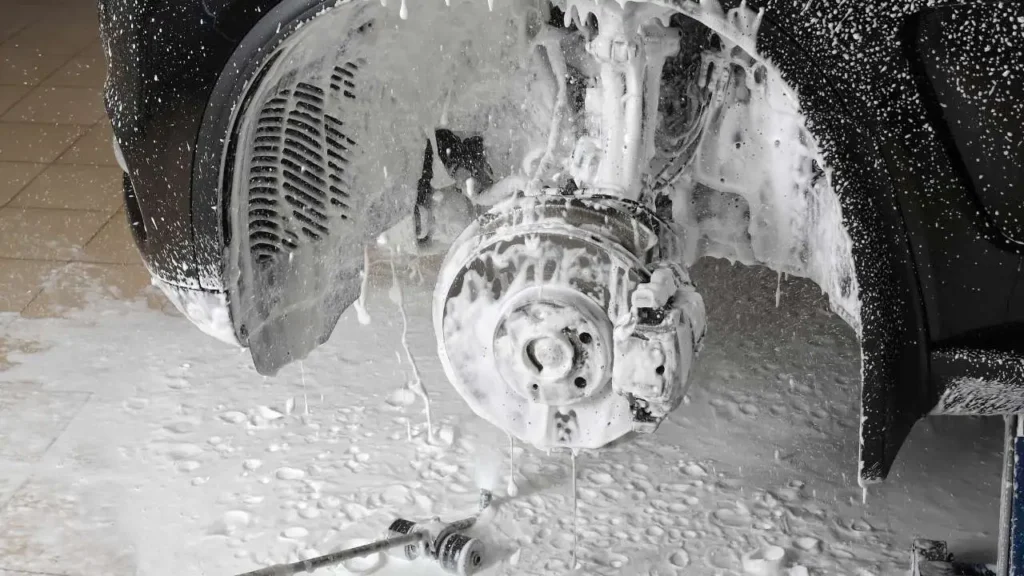
Apply degreaser/all-purpose cleaner
Pre-soak the area with a degreaser or all-purpose cleaner to wear and break down the top layer of grime. Depending on the product you are using, you may need to dilute it with water. Let the solution sit on the area for a few minutes. Now, use a pressure wash to blast off as much of the loose dirt as possible.
Air pressure cleaning
Prepare the air pressure gun by filling it with your all-purpose cleaner and hooking it to an air compressor. Aim the nozzle at the area and spray the solution. Combining the air pressure and cleaning solution creates a “vortex” that loosens the next layer of grime. A steamer can also work, but the cleaning gun is preferable since it works faster. The advantage of using air-pressure cleaning is that it dislodges several layers of grime from the wheel well without needing a brush, which can abrade the surface.
Brush the area
Now it’s time to bust out your brushes. Spray some all-purpose cleaner on the brush and get to work on scrubbing off subsequent layers of grime on the wheel well. You may need different brushes to be able to target those hard-to-reach areas. It may also be a good idea to give the wheel well another blast from the air pressure cleaner. This will help dislodge more of the gunk the brush could not remove.
Now, give the wheel well another spray from the pressure washer to remove the dislodged dirt and prepare for the next step.
Use tar and iron remover
Spray an even coat of your tar and iron remover on the wheel well and let it sit for a few minutes. You can also use an old, clean microfiber towel to work the tar remover better into the surface. Ideally, you should allow the area to dry off from the previous rinsing before applying the product so it can work effectively.
Here’s the great thing about this method: all the previous steps worked to remove several layers of accumulated filth so the tar and iron remover can focus on the more stubborn contaminants.
Final rinse
Give the surface a final rinse with water. You can use the air pressure cleaner to blow out the remaining water in preparation for the next step.
Use wax and grease remover
This is part of prepping for the final step – applying a protective coating. While you can use soap or regular isopropyl alcohol-based cleaner, a wax and grease remover is slightly more capable for the job. Use a microfiber towel to apply the product evenly over the surface.
Wipe the surface clean
Wipe the surface using the CARPRO Eraser and microfiber towel to ensure no wax and grease remover residue is left. If the towel looks clean after wiping, no residues are left, and the wheel well is ready for protective coating. Keeping the surface bare of residue ensures the protective coating can last longer.
Apply protective coating
Use the applicator pad to apply the dressing evenly on the surface. For extra protection, you can apply a second coat. It would be best if you let the first coat cure for a few hours before applying another. If the coating feels a bit too grippy going on and wiping off, that’s usually a sign that you need to wait longer to apply a new coat. Usually, waiting 2-3 hours in warmer climates and 3-4 hours in colder climates between coats is about right.
Finally, apply the coating sealant as a top layer of protection and to seal the finish.
FAQs
What causes rust in wheel wells?
The rusting process begins when the wheel well is exposed to road salts and moisture, especially when you drive your car during winter. Then, oxidation of road salt triggers the formation of rust, which can quickly spread along the undercarriage if not managed.
Can you pressure wash wheel wells?
Yes, you can. A pressure washer can dislodge dirt on the wheel well surface during a pre-wash or in the detailing process.
How do you protect your wheel wells from rust?
Due to the effect of the elements, your car’s wheel wells can be prone to rust. You can rust-proof and protect your wheel wells using a protective coating (oil, wax, or tar-based). Frequent washing with an all-purpose cleaner and pressure washer can also do the trick.
Can you fix rusted wheel wells?
Yes, you can revive a rusted wheel well. You can do it yourself or seek professional services, depending on the extent of the damage. Several online guides show how to fix a simple wheel well rust problem.
Conclusion
Whether you are a newbie in the world of car detailing or someone meticulous about keeping their car clean, we hope you have learned a thing or two about how to clean and protect wheel wells.
Both methods discussed in this guide are viable, and your choice depends on how much time and equipment you have available.
Honestly, cleaning your wheel wells is one of the biggest labors of love you can do for your car. The good thing is seeing the finished product after the hard work and several hours is always worth it in the end.
As always, remember keeping your car pristine should be a thing of pride and pays off in the long run.