As a car owner, chances are, you are familiar with swirl marks. These unsightly flaws are one of the pesky banes to a vehicle’s paint job, especially among car detailers.
If you are struggling with this problem, you’ve come to the right place. In this guide, we will show you how to remove swirl marks from car by hand. That means no fancy, expensive equipment or services, just your hands, a few common materials, and loads of patience – DIY style!
We will also share some pointers on preventing swirl marks as well as answers to common questions we have received on the subject. Let’s get rolling!
What are Swirl Marks, and How do they Impair a Car’s Paint Shine?
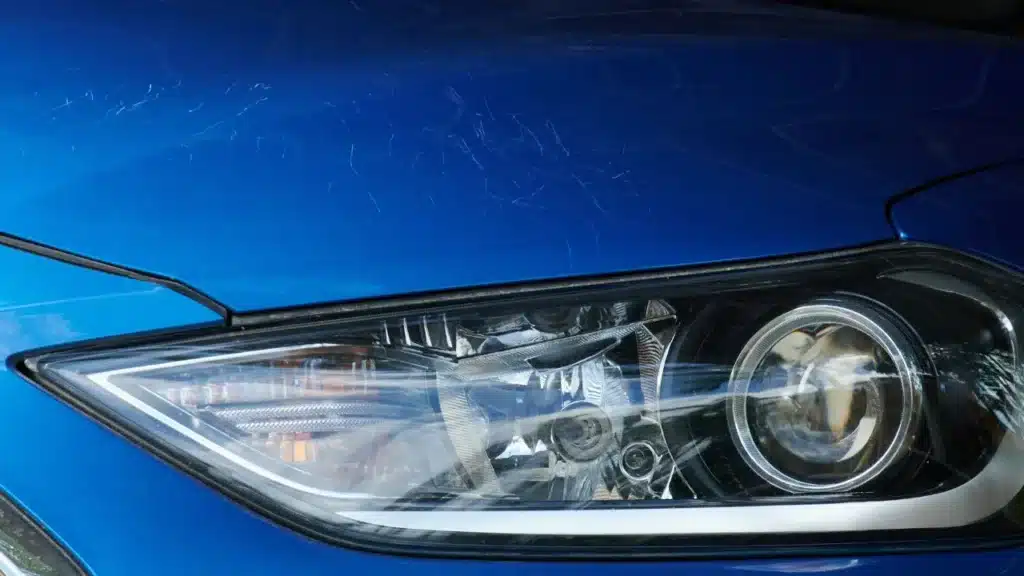
Swirl marks are really tiny, fine scratches on a car’s paint, typically forming circular patterns that dramatically reduce its shiny finish. Not to be mistaken for regular scratches, swirl marks are usually not that deep, never going past the surface of a vehicle’s clear coat. They occur in consistent patterns that sometimes look like cobwebs.
They are also more noticeable on dark-colored cars than on lighter ones. Some drivers may look at swirl marks as “minor aesthetic” damage that can be overlooked, but within the car detailing community, it is worth obsessing over.
Besides, if you had a choice, would you rather drive a dull, lackluster car or a shiny, pristine one?
Causes of Swirl Marks
Generally, the common causes of swirl marks stem from poor washing and drying practices on a car. These include;
1. Using harsh products on the paint finish

These products range from overly strong cleaning and polishing compounds to towels and applicators made from harmful fabrics like polyester. Using the wrong type of towels, wash mitts, and applicators can cause abrasions on the car paint, leaving it prone to swirl marks.
2. Using a dirty wash mitt or the wrong type of polishing/buffing pad
When you wash with a dirty sponge/mitt, you are practically wiping the previously removed dirt back on the vehicle paint, causing those tiny scratch marks to develop due to abrasion. This is why it is recommended to rinse the towel often during a car wash.
The same applies to using a dirty towel for drying after washing. Also, when detailing your vehicle, you want to ensure that you employ the right polishing or buffing pad. Using the wrong buffing or polishing pad when detailing can also cause swirl marks.
3. Constantly skipping pre-wash step
The optimal car wash process involves prepping the car with a pre-wash. Pre-washing helps loosen and remove as many contaminants as possible during the washing process, reducing the chances of swirl marks, scratches, or scuffs on the paint finish after washing the vehicle.
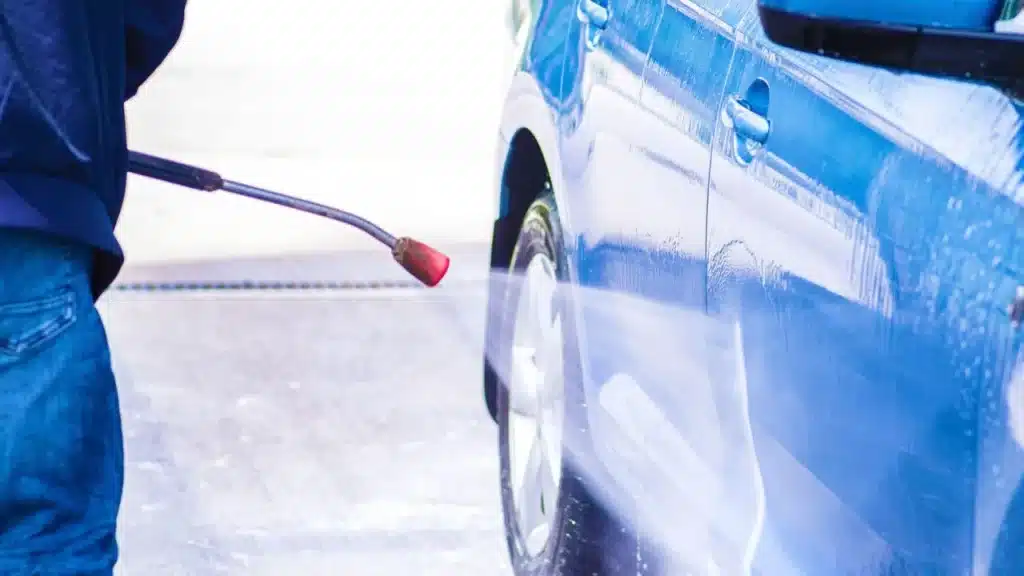
4. Using an automated car wash
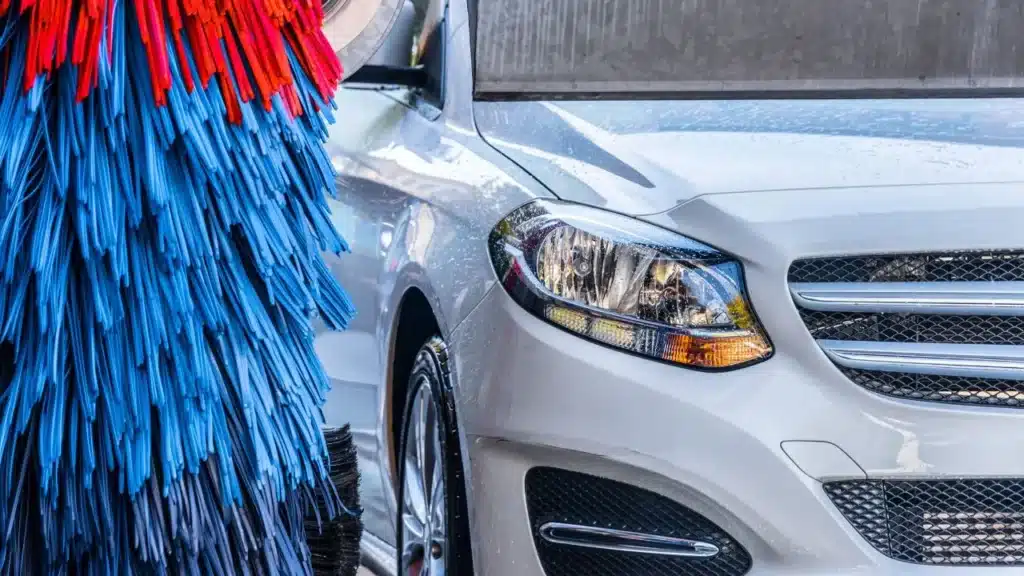
While they are convenient, automated car washes should be avoided if you care to maintain your car’s shiny finish. In many cases, the bristles on those rotating brushes are harsh on vehicles’ clear coats – capable of leaving swirl marks. Plus, the brushes may hold grit and dirt from previous vehicles that can scratch your car while washing.
Now that you have a fair bit of knowledge about swirl marks, let’s proceed to how you can get rid of them with paint correction.
A Step-By-Step Guide to Removing Swirl Marks by Hand
The process is not a complicated one. However, it can be time-consuming, and let’s just say your shoulders won’t be thanking you after.
That said, removing swirls starts with washing the car and then applying a clay bar. This removes any surface contaminants that may hinder the process.
Next, you work in a cutting compound by hand and wipe it off. Then, follow it with finishing polish, which would also be wiped off again after rubbing it in. You finish the procedure by applying a new coat of paint protection for the clear coat.
Some people may apply a fallout/tar remover after washing, that depends on your discretion. There is no harm in it, and you can go for it if you wish.
Below are the products you will need for the procedure:
- Car washing products (Microfiber cloths, microfiber towels, multi-purpose cleaner, car wash shampoo, water).
- Chemical Guys clay bar kit (make sure there is a clay lubricant).
- Sonax CutMax cutting compound.
- Sonax Perfect Finish.
- Ceramic paint protection – you can also use wax/sealant.
- Foam applicator pads. We use Meguiar’s.
You don’t have to use the exact products listed here – those are just our preferences. Just ensure whatever materials you are going for are safe for your car.
Let’s go through the process.
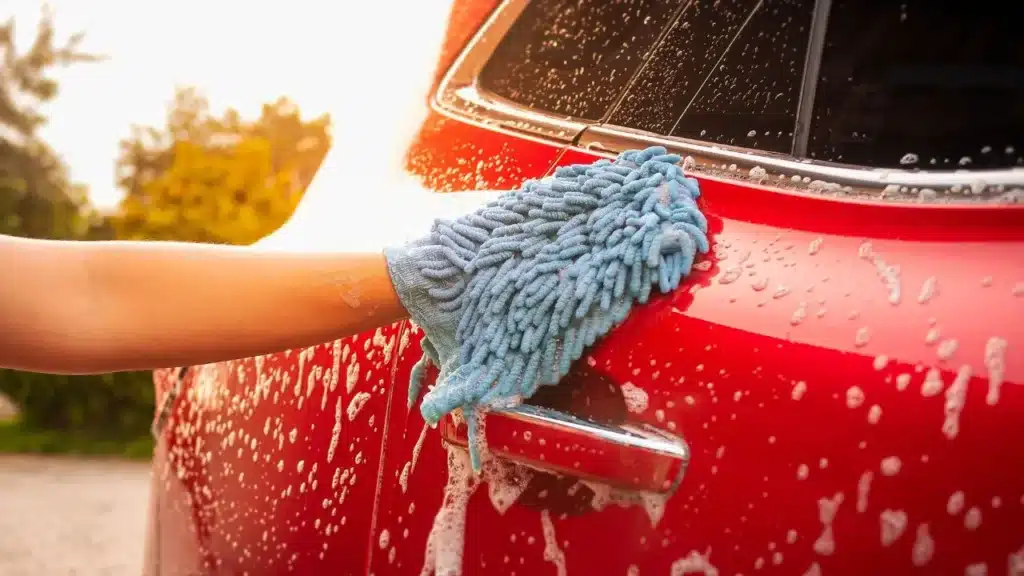
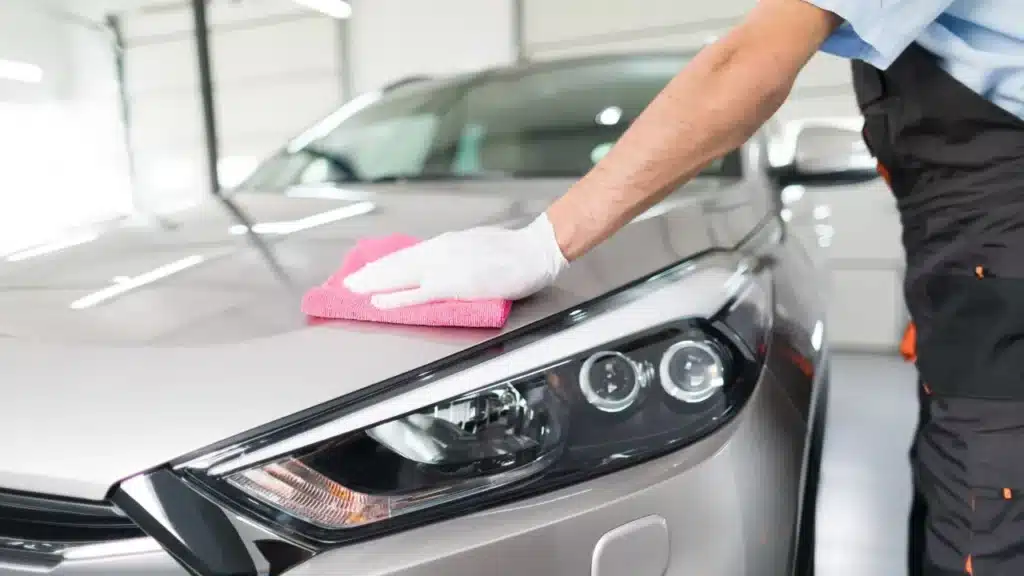
1. Wash the vehicle
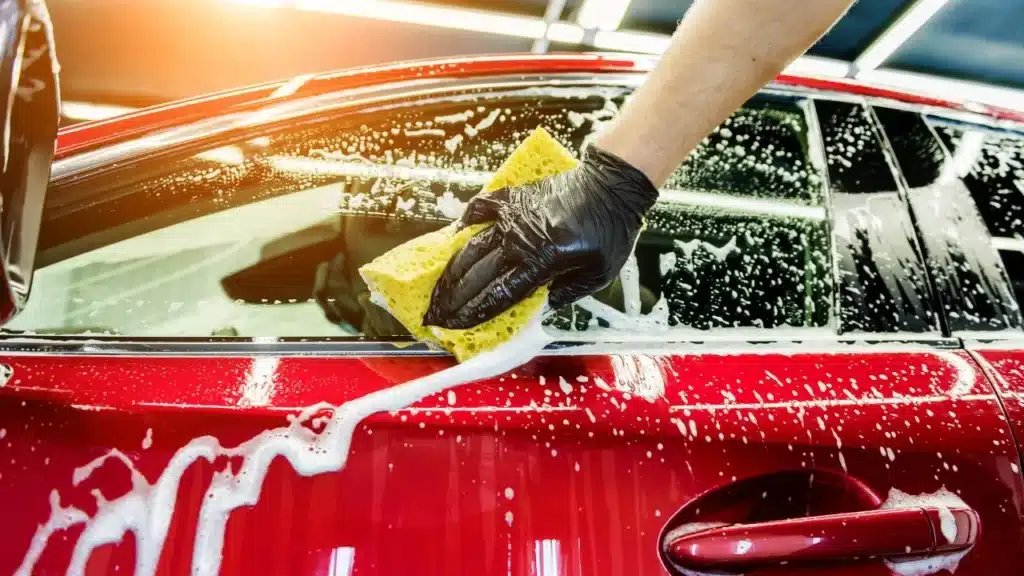
For this step, you have to follow a proper wash routine. As we referenced earlier, this begins with a pre-wash. We usually recommend first spraying heavily soiled areas with the multi-purpose cleaner before snow-foaming the car and, finally, rinsing it. Alternatively, you can just use a pressure washer on the car paint as a sort of basic pre-wash. It is way less effective, but it is better than nothing.
Another proper wash routine tip is to ensure the wash mitt is as clean as possible each time you apply it to the car. You can ensure this by using the two-bucket washing method, which we will discuss later below.
With the car clean and dry, you can proceed to the next step.
2. Use a clay bar to remove bonded contaminants
Spray the affected areas (or your entire car) with a clay lubricant or a quick detail spray, and get to work on them with your clay bar/mitt/disc. This removes any remaining surface contaminants or brake dust bonded to the clear coat and gives the paint a smooth feel.
Here’s a tip; you can cut your clay disc in half, so if it drops to the ground, you have a fresh half ready for use. Once the clay bar touches the ground, it is virtually useless.
After finishing on each panel, you can also fold the clay bar so you have a clean side for the next panel.
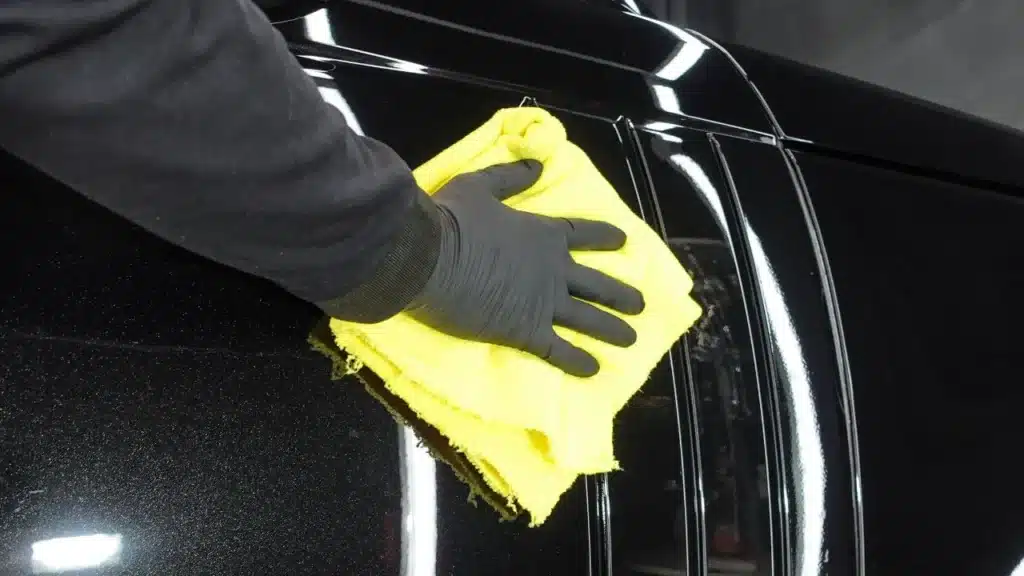
Once you are done, use a clean microfiber towel to dry the surface.
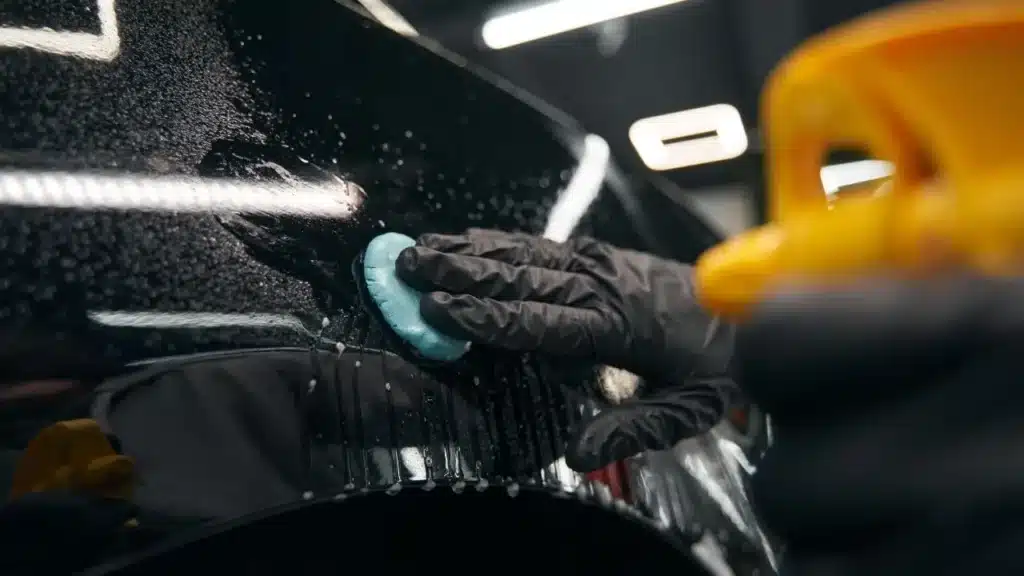
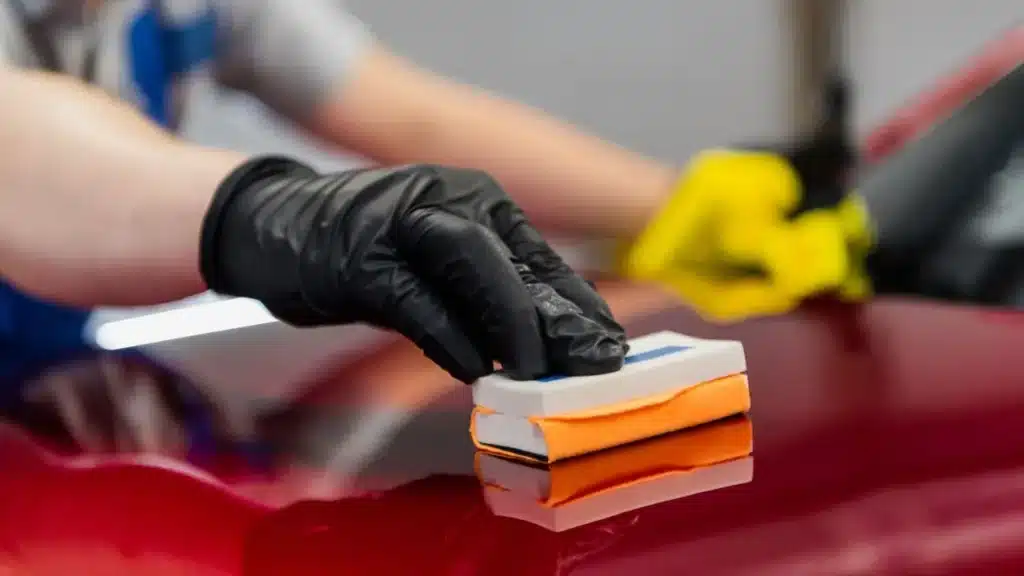
3. Apply cutting compound
You may want to start by using masking tape to cover up plastic parts and glass trims that don’t need polishing. It can be a pain to clean up the compound from these bits.
Give the compound bottle a good shake so the content is uniformly mixed. Next, apply a few drops on the foam applicator pad.
With the applicator pad, spread the product on the areas with swirl marks – work from the middle out. Work the compound in as best as you can. You can do this in circular motions, imitating the dual action polisher machine, or you can do it in straight lines.
If your car panels have curves and lines that make normal rubbing motion trickier, you can focus on working on one even area of the panel at a time.
The abrasive compound works by leveling swirl marks with the rest of the clear coat so you have a more even paint surface.
Once you’ve worked the compound in till it is almost transparent, wipe the surface with a microfiber towel to remove any excesses. Do not let the compound dry on the surface.
You may also notice you’ve caused tiny damages after this process. Not to worry, the next step would handle that.
4. Apply finishing polish
Again, shake the polish bottle and squeeze a bit on another clean applicator pad. Work it into the surface like you did in the previous step – you can do it for longer, though. Finally, wipe off the excess polish with a clean microfiber towel.
The finishing polish works similarly to the cutting compound, except it is more delicate and also leaves a glossy, smoother result.
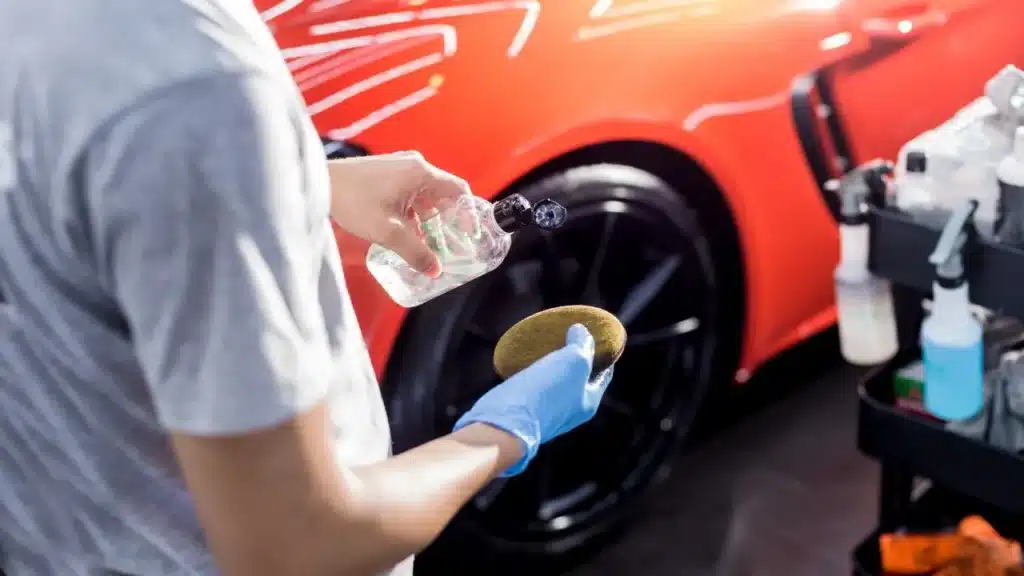
5. Use paint protection
This is the final step. After all the time and effort put into removing the swirl marks, it is only rational to use some paint protection.
Spritz a bit of the ceramic coating on your applicator. Then, apply the product evenly across your car’s paint using either a circular motion or a cross-hatch pattern.
Apply the product in small sections and leave the coat on for about a minute or until it starts to develop a streaky appearance. Then wipe off the excess with a clean microfiber towel. Continue this process till you’ve covered the entire exterior and ensure you have a consistent finish.
Also, avoid applying the coating under direct sunlight. Paint protection prevents dust and grime from settling on the clear coat, and it also gives your vehicle a glossier finish.
5 Tips For Preventing Swirl Marks on Your Car Paint
It is better to avoid swirl marks than to have to deal with it. Below are some maintenance tips to keep your paint finish free from swirl marks.
1. Use the two-bucket method when washing
The two-bucket wash method is a reliable method used by professionals to prevent swirls and scratch marks when washing a car. As the name implies, wash with two buckets rather than one.
Each time you dip your wash cloth/mitt into a single wash bucket, you inadvertently pick up previous dirt and grime washed off your car that is now floating in the water. As a result, you are reapplying a dirty washcloth on the car, which can cause those tiny scratches.
With two buckets, you can fill one with shampoo, while the other contains clean water with a Grit Guard. After each scrub of the car, rinse the wash mitt in the rinse bucket to remove stuck dirt before soaping it again.
2. Invest in proper car wash tools and avoid automated car wash
If you care about the well-being of your car, you shouldn’t cheap out by opting for sub-standard products. Use quality shampoo and other products when washing your car. Only use quality wash mitts, microfiber-based fabrics, or other materials that won’t cause abrasions on your vehicle’s surface.
You also want to steer clear of automatic car washes. Many of these establishment’s brushes can be too harsh on your car’s paint job, causing swirl marks to develop.
3. Use proper washing techniques
This covers the two-bucket method explained earlier. Other proper car washing techniques include;
- Pre-washing the car.
- Avoid washing under direct sunlight.
- Washing the wheels and tires first. They are usually the dirtiest part, and starting there means you don’t have to worry about getting contaminated water splashed on already cleaned and drying panels.
- Start from the roof and work downwards – after tackling the wheels.
- Wipe in straight strokes, not circular movement. This means up to down, left to right, or vice versa. It also helps prevent swirl marks.
4. Use paint protection
Paint protection is a reliable way of maintaining your car’s shiny and pristine exterior. There are several options on the market (wax, sealant, ceramic coating, paint protection film), each with different prices and durability.
FAQs
How do you identify swirl marks?
Swirl marks can be difficult to spot, especially to an untrained eye. This is because they only become obvious under certain lighting. To spot these imperfections, closely inspect your car with a flashlight or white fluorescent light in low-light conditions (under a dark shade or garage).
If there are swirl marks, the light reflecting from the surface will seem diffused, and you may also notice some circular scratch patterns.
Are swirl marks permanent?
No. As long as you are willing to do something about it, swirl marks are not permanent. We have detailed how you can get rid of them yourself by hand in this guide. Alternatively, you can also seek the help of professionals.
What is the easiest way to remove swirl marks?
The easiest way to remove swirls would be to have professional detailers fix it for you. Mind you, you obviously have to pay for the service. If you have the machine at home, you can do it yourself. The process can take thirty minutes to a few hours, depending on how much surface you have to work on.
Can swirl marks be removed with only clay bar treatment?
No, you can’t remove swirls with just clay bars. Clay bars work by removing contaminants that have bonded to the paint surface. Meanwhile, swirl marks are from tiny etches and scratches in the paint’s clear coat. A clay bar will be ineffective for that problem.
Does paint protection hide swirl marks?
No. Paint protection only enhances and protects the paint job. It can’t mask swirl marks. Rather, the best use for paint protection would be as a shield from swirl marks.
Conclusion
There you have it. We hope you’ve been able to learn how to remove swirl marks from car by hand from this guide.
As a quick recap, we discussed what swirl marks are and highlighted their common causes – improper car washing practices are the main culprit. Then we described how to remove them by hand using affordable materials.
It is better to avoid those tiny scratches in the first place than have to deal with them, so ensure you follow our tips for preventing swirl marks.
Removing swirl marks without a machine takes a lot of hours and hard work, but with enough passion, you can get it done. Keep in mind that you also don’t have to do the entire car at once. You could break up the task over the course of a few weeks. Happy detailing!