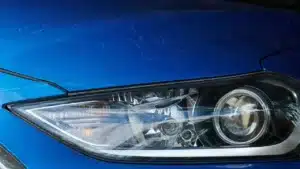
Toward the end of summer, road painting operations kick-off and usually run into the fall. Driving through freshly painted lane markings causes paint splatters on your vehicle, leaving you to figure out how to remove road paint from car without damaging your paint finish.

Suppose you discovered the stain while it is still wet; you can easily wash it off using a pressure washer. But once the paint dries, it hardens and becomes much more difficult to dissolve. Whatever state the road paint stain is, we’ve got you. Below is a step-by-step process on how to remove even the toughest road paint from your paint finish.
Materials Needed to Remove Road Paint
Below are all the materials you’ll need to remove marking paint from your vehicle.
- Tec 307 Traffic Paint Remover
- Plastic Scrappers
- Pressure Washer
- Automative wash soap
- Microfiber Towels
- Clay bar and detail spray
- Meguiar’s Ultimate Paste Wax and Applicator Pad
How to Remove Road Paint From Car
When dealing with traffic paint stains, time is of the essence. Because the sooner you discover the stain, the better your chance of using a pressure washer to strip off the stain. Nonetheless, below is a detailed process on how to remove both wet or hardened road paint stains from start to finish.
Read more about how to remove stains from car paint
Step 1- Prep the Vehicle
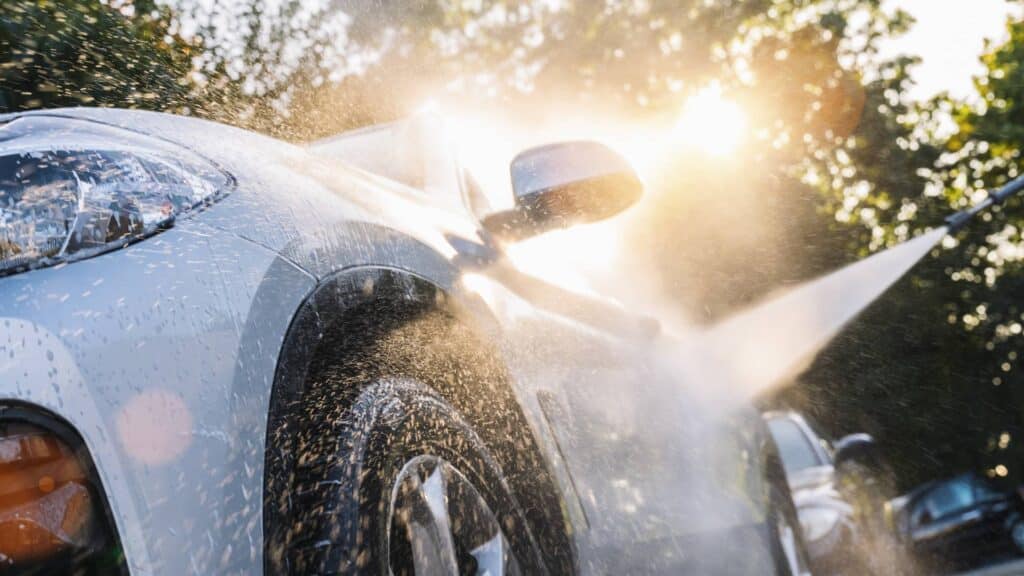
When prepping, you should start by washing the vehicle to remove the dirt that could scratch the paint finish. Pre-rinse the vehicle before washing to eliminate caked-up soil and dirt that can damage your vehicle’s finish when washing. Check out this video for other common car washing mistakes.
Always set the pressure washer to low pressure when washing to prevent it from damaging your paint.
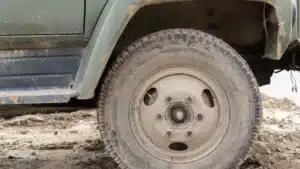
After washing, proceed to examine the road paint stain. If the stain extends to the wheel wells, you may need to remove the wheels and keep your vehicle on a jack stands for easier access to the stain.
If there is a heavy concentration of traffic paint inside the wheel wells, it is best to replace the fender liners to reduce stress.
Step 2- Removing the Road Paint
The pressure washer will do the bulk of the work during the removal process. But you’ll first have to apply the Tec 307 Traffic Paint Remover to break down the stain, making it easier to remove.
And if you are working with a large stain area, it is best to work in portions and move to other parts. You can start from the driver’s side, cleaning both wheel wells and body panels before moving to the other side.
Rub the Tec307 Traffic Paint Remover on the road paint and leave it for some minutes to break down the paint. Now go in with your scrapper and carefully scrap the softened road paint.
Scrapping also helps to make a chip in caked-up road paint, allowing you to blast away the remaining stain when using the pressure washer.

After scraping and removing as much of the road paint as possible, then pressure wash the stain to use the stripping force of the washer to obliterate the stain. Power your pressure washer, directing the water pressure at the road paint.
However, you must be extra careful when using the pressure washer to avoid causing paint damage or dents.
Use the stripping force of the pressure washer to blast away the remaining road striping paint. However, you may have to use the pressure washer multiple times to remove the stain. And depending on the severity of the stain, you may need a third or even fourth round of pressure washing to remove the road paint completely.
Now, repeat the paint removal process on the passenger’s side, wheels, and other parts of the vehicle with the paint stains. For the wheels, get a very wetted rag soaked in Tec307 Paint Remover and first use it to wipe the stain before going in with your pressure washer.
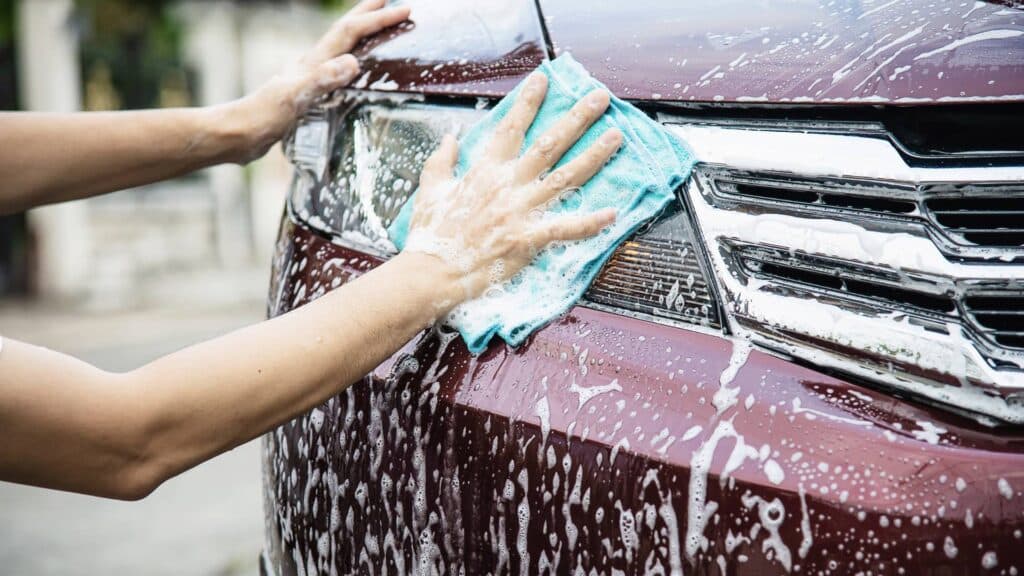
Step 3- Rewash the Vehicle
Once you are done removing the road paint, rewash the vehicle to remove all the dirt and rinse off the Tec307 from your vehicle. As we’ve mentioned earlier, pre-rinse the vehicle before washing. Apply the detergent, scrub the vehicle, and proceed to rinse off the lather.
After washing, use a clean microfiber towel to dry the vehicle. Now carefully inspect the vehicle for speckles of road paint. If you can see any, apply the Tec307 to a clean microfiber towel and use it to wipe off the paint speckles.
After wiping off the paint stain, spray soapy water on the area and wipe it with a fresh microfiber towel to clean off the Tec307 residue left on the area.
Step 4 – Use Clay Bar

Although you can skip this process and proceed to give it a good coat of wax, we usually advise that you use a clay bar before waxing. Going the extra length helps to remove all the contaminants embedded in the vehicle paint. You can also check out this article for other benefits of using a clay bar on your paint finish.
But before you start, ensure your vehicle is free of dust, dirt, or other contaminants that can scratch the paint job during the claying process. Once you are sure your vehicle is dirt-free, mold the clay into a sizeable disc and prepare your detail spray.
Start by spraying the detail spray onto the surface area you’ll work on to get it wet. Then go in with your clay bar and focus on one area until you remove all the contaminants embedded in that section of the vehicle paint.
An indication that the clay bar has pulled all contaminants in that area is when the clay bar has no more grabs on the paint surface. Once you are done claying one area, wipe it down with your microfiber towel and move to another area. Now, repeat the process until you’ve completely done the whole vehicle exterior.
While claying, move in a linear motion, going in either back and forth or left to right motion to avoid creating swirl marks when you move in a circular motion.
You should also remember to keep the surface wet by applying the detail spray when needed. Lastly, remold the clay bar to get a fresh bar anytime the clay feels like it has gathered contaminants.
Step 5 – Applying the Wax

After claying your whole exterior, the final step is to apply the car wax to remove that lasting signs and give it that glossy shine. Claying the vehicle exterior strips off any protective wax or sealant layer on the paintwork. So, you don’t want to skip the waxing process.
Get your wax applicator pad and lightly dab it into your Meguiar’s Ultimate Paste Wax. You don’t need so much to get the job done. Spread the wax onto the vehicle, laying a thin layer and ensuring even coverage. To get that glossy flat finish, apply very thin layers, as it also reduces the chances hazy or sweating outcome.
Leave the wax for some minutes to allow it to settle in. You don’t want to leave it on for too long as it makes it difficult to remove. Also, wiping it off too early wouldn’t allow it to settle in well enough, consequently impacting its overall durability. Once you’ve allowed the wax to settle in, wipe it off using a fresh microfiber towel.
When you are waxing your vehicle, start from the top and work your way down so you don’t have to lean on the part you’ve already done and ruin the progress you’ve made. You should also work in segments moving to other body panels once you are done with one. Check out this video for some other waxing tips.
Types Of Road Paint
Some factors, including location, weather conditions, amount of traffic, drying time, and road surface type, often determine the choice of road striping paint used on each road.
1. Hot Thermoplastic
Hot thermoplastic is the most common type of paint employed for line marking on roads. Their popularity is hinged on their lengthy lifespan and suitability for large-scale projects. They are made up of synthetic resin, pigments, and glass beads. The pigment gives the paint its color, and the glass beads add reflectivity.
Hot thermoplastic paint usually starts as a solid powder and requires specialized machines to melt it to be applied to the road. Although hot thermoplastic paints are mostly used on bitumen-based surfaces, particularly roads, they can also be used on concrete.
2. Water-Based Paint
Water-based paints are the most commonly used type of road paint. They use polymer binders and dry quickly in warm weather conditions. They are also environmentally friendly and available in a variety of colors, making them suitable for a wide range of surfaces — from warehouses to transport yards, block paving surfaces, shipping ports, etc.
3. Solvent-Based Paint
These types of paints are more durable than water-based paint and, thus, are mostly used on high-traffic areas like highways and interstates. But the downside with solvent-based paint is that they contain more organic compounds than water-based ones, making them less environmentally friendly.
Solvent-based coatings also have a faster drying time and aren’t affected as much by temperature and humidity. There are also low-VOC solvent-based paints that are less harmful to the environment.
4. Pre-formed Thermoplastic Tape and Markings
Pre-formed thermoplastic is another tough road paint. They are made from thermoplastic materials and are precut into rolls or sheets. But unlike most road paints, pre-formed thermoplastic is applied to the road surface by using a gas torch to heat up the precut design.
These types of road paints are best suited for complex designs. The major downside of pre-formed thermoplastic is that it is unsuitable for large projects, as it is quite expensive and its application is time-consuming.
What Dissolves Road Paint?
There are numerous solvents capable of dissolving road paint stains from your vehicle. However, the effectiveness of each solvent is hinged on how long the paint has stayed on. Below are some products to try out when dealing with road paint stains on your vehicle:
1. Hot Water Pressurized Wash
Besides removing stubborn grease and grime quickly, a hot-pressure car wash can be used to dissolve road paint stains from your vehicle. However, a hot pressure wash will only be effective with fresh road paint stains. A hot water pressure wash may be ineffective if the stain has dried and hardened.
2. WD-40
WD-40 is another solvent you can use to break down road paint stains that are been sitting on your paint finish for more than a day. In addition to its lubricant and rust-preventive features, WD-40 also has penetrative features, making it a good option for dissolving road paint stains.
Spray the stain with WD-40 and leave it to sit for about an hour or two to soften the paint. Now, proceed to wash the vehicle.
3. Petroleum Jelly
You can also try out the Vaseline procedure if the road paint stain has been sitting on your vehicle for a while and pressure washing wasn’t effective. All you need is to apply some jelly on the dried traffic paint and allow it to sit overnight. Use a pressure washer to wash the vehicle the next morning.
4. Mineral Spirit
Mineral spirit is another mild option you can use to break down road paint stains from your vehicle. Mineral Spirit is an all-around cleaner suitable for oils, tar, or gunk, as well as paint stains from any surface. However, they may only be suitable for fresh or almost fresh road paint stains.
5. Lacquer Thinner and Isopropyl Alcohol
Lacquer thinner or Isopropyl alcohol should only be considered as a last resort when the other options discussed above prove ineffective. They are aggressive solvents that can be used to clean off dried road striping paint that has stayed on your vehicle for days and hardened.
Apply these solvents in controlled quantities and in a well-ventilated area to avoid exposure. You must also exercise extreme caution when using either of them, as they can discolor the paint and plastic trims or, even worse, dissolve the vehicle’s clear coat.
Before using either one, read the instruction guide and pre-test it on a hidden spot before using it.
With isopropyl alcohol, otherwise known as rubbing alcohol, you should always dilute it with water before using it on your paint finish.
Preventing Road Paint Damage
Cleaning road line paint from your vehicle is nerve-wracking. So, staying away from freshly painted surfaces is one way to avoid road paint damage. Watch out for “Wet Paint” warning signs, striping crews, and road stripe painting trucks when driving.
You should also avoid switching lanes over freshly painted lines and keep a safe following distance with road painting trucks.
To be safe, use an alternative route whenever you notice road painting crews at work. And if you do get road paint on your vehicle, wash it off with a pressure washer as soon as possible before it dries on your vehicle.
Also, regularly washing your vehicle will help to remove any speckles of paint or other debris that may have landed on your paint. Waxing twice yearly also helps preserve the clear coat and makes it easier to remove foreign elements, including road paint stains laying on the vehicle paint.
Common Mistakes to Avoid
Below are some common mistakes to avoid when removing road stripe paint stains from your vehicle and some tips to avoid them.
1. Using abrasive materials
Never use hard scrubbing pads, steel wool, scouring cleanser, or any other abrasive material to remove the paint stain, as such can scratch your paint finish. The most you want to use is a plastic scrapper, and you need to be extremely cautious when using it.
We usually recommend rubbing Tec307 on the stain, then using the stripping force of an electric pressure washer to blast off the stubborn stains.
2. Applying the solvent directly to the paint stain
Regardless of the manufacturer’s promise, it is always a good idea to test the solvent on a discrete part of your vehicle first before applying it to the stained area.
This way, you are able to avoid costly mistakes by limiting the extent of the damage if the product turns out to be too strong for your vehicle paint.
3. Leaving the solvent on for too long
You don’t want to leave the solvent on for an extended period as it can damage the clearcoat, plastic trims, or even strip off the paint. Ensure you rinse off the area thoroughly to wash off the remaining solvent.
4. Not washing your vehicle before stripping the road paint
Before you start, wash your vehicle to eliminate all the caked-up dirt that can scratch the paint finish. Also, remember to pre-rinse the vehicle before washing and always start out with low pressure.
5. Claying
During the claying process, only use linear motions, moving from left to right or back and forth, to avoid creating swirl marks. And whenever your clay bar falls to the ground, never reuse it as it would have gathered sand and other contaminants that could scratch your paint job.
Lastly, always remember to keep the surface you are working on wet by applying the detail spray when needed.
FAQs
Will removing road paint damage my car’s paint job?
The process is a potentially risky one, but if done correctly by following the steps we’ve highlighted above, it is possible to remove traffic paint without damaging the car’s paint.
Can I use nail polish remover to remove road paint?
Although nail polish is used for several purposes apart from decorating fingernails and toenails, we do not advise using it to remove traffic paint stains. This is because some contain acetone, which is a strong solvent that can damage the vehicle paint finish.
Will acetone remove road paint from car?
Acetone is a very strong solvent that can be used to dissolve almost anything, including paints. But the chemical concentration levels of acetone can cause damaging effects on vehicle paint, which is why we don’t recommend using it.
Is WD-40 safe on a vehicle paint?
WD-40 is safe and won’t damage your paint job. Since it is made of mineral oil, it actually gives the finish and clear coat more corrosion protection. Just make sure you wipe off the excess, or your vehicle may look greasy and susceptible to dust.
Conclusion
The best time to remove traffic paint splatter from your vehicle is when it is still wet because the paint is engineered to last, meaning that it becomes nerve-wracking to remove once it dries.
Well, whether you are dealing with wet or dried paint splatter, there are ways you can remove them and we’ve highlighted the most effective method in this article.
Soak the road paint splatter with Tec307 and use the stripping force of your pressure washer to go at the stain. Once you’ve removed the stain, use a clay bar to pull out the contaminants embedded in the vehicle paint and proceed to wax the paint finish to give it that glossy shine.
Lastly, you must exercise extreme patience and caution during the whole procedure to avoid damaging your paint job.